Content Outline
eCommerce is poised to become a major player in the global retail market, and the Singapore eCommerce industry may make up as much as 6.7% of all retail sales by 2025. And it’s not just giants like Lazada or Redmart that contribute to this figure, as the local marketplace features a multitude of stores selling everything under the sun, from photos printed on wood to all things Singaporean.
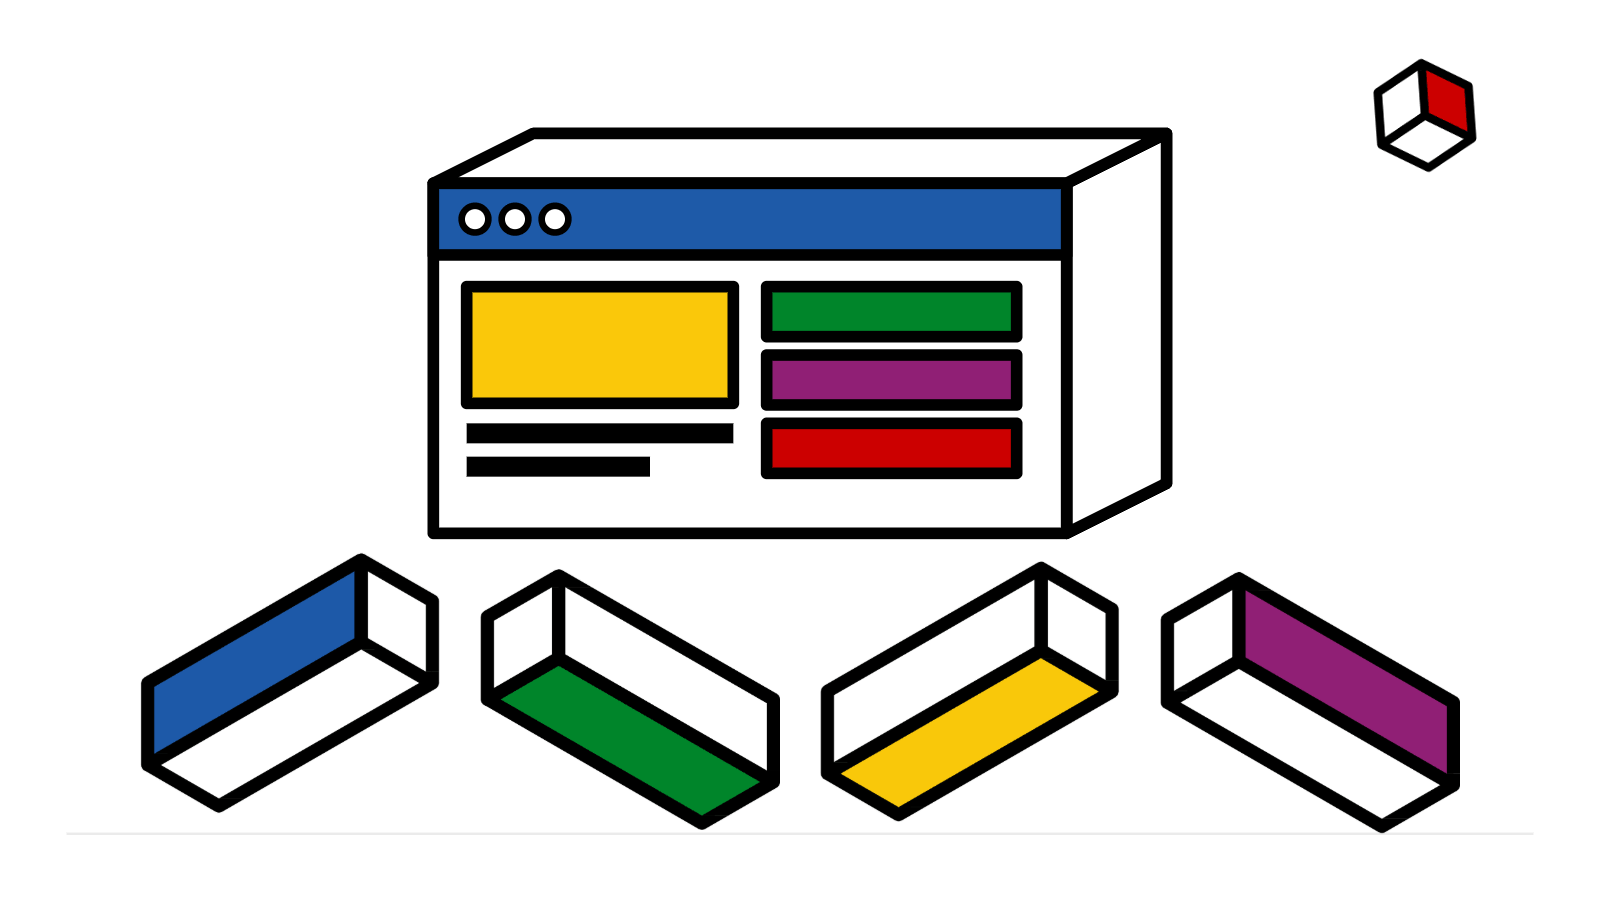
One of the best parts about entering the eCommerce world is that it’s easier than ever to do so. There’s a huge array of services that can give you everything you need to set up your online store with only a few clicks. Find a suitable ecommerce platform, you're off to a good start!
In our previous article about what you should consider before building an eCommerce store, we covered several of the best ecommerce platforms to choose from. This time, we zero in on building an online store with WordPress, one of the most popular and flexible solutions for eCommerce.
Why use Wordpress?

WordPress is a free-and-open-source content management system that is developed by both a core group of lead developers, and a community composed entirely of volunteers. About one quarter of all the websites on the Internet have WordPress as their content management system, and for good reason—it combines ease of use that allows it to be applied to even the most basic websites, and plugin-based modularity that allows its functionality to be extended to meet virtually any needs.
Its open-source, community-managed nature also ensures that WordPress is constantly up-to-date with security patches and new features. Tutorials and documentation to do just about anything can also be found all over the Web—if you have a question about WordPress, it’s almost certainly been answered already.
WordPress is particularly useful when building an eCommerce website, because there are plenty of premade themes suited to an online storefront. It also features plugins that add complete eCommerce functionality to a site, from product display to shopping cart and checkout.
Finally, one of the top reasons to go with WordPress is that it’s a flexible platform that offers you complete control over what your website does and how it appears. On top of your storefront, you can also include a blog, a forum, and any other pages you need.
All this comes without any ongoing fees to make use of the WordPress platform. Your monthly fees come from your hosting company and domain registrar, with WordPress itself being free to use, and certain plugins and themes being one-time purchases.
Planning to create an online store with WordPress? This blog post will help you along every step of the process.
Step 1: Choose your domain name and hosting provider.

The first step in WordPress eCommerce setup starts with your domain name. This will become the address of your future website. A domain name is what you enter into the address bar of your browser to access a website.
While WordPress itself is free, you’ll need to pay for your domain name, which starts at US$10 per year. The cost is well worth it, as having your own domain name (i.e. yourbusinessname.com) is far more professional-looking than having your name on someone else’s domain (i.e. yourbusinessname.otherdomain.com).
Read: Domain Registration in Singapore: The Complete Guide
You will also need a hosting provider, a service that will host your website on the Internet. By having a dedicated hosting provider, you're assured that your website will load quickly and not suffer from extended periods of downtime.
You have the option of a shared or dedicated host. With a shared host, your website is on the same server as several other websites, which is cheaper, but often provides you with less control over your website as well as potentially smaller storage and bandwidth availability. Meanwhile, a dedicated host is more expensive, but gives your website a whole server exclusively for your use, and gives you a wide degree of control, storage, and bandwidth.
After snagging your domain and host, you can now install WordPress, and there are two ways to go about it:
One-click install
In the one-click install, you register your domain name and get your WordPress site hosted from the same provider. Wordpress recommends your host supports PHP 7, MySQL v5.6+ or MariaDB v10.0+, and HTTPS.
You can also use hosting providers trusted by WordPress, which will make installation easier and ensure that your chosen host is supported. WordPress itself recommends Pressable, BlueHost, Dreamhost, Flywheel, and SiteGround.
Manual install
With the manual option, you set up a server manually, then install the WordPress platform on your server, and configure it. You’ll need to have an FTP client, a database setup through cPanel or phpMyAdmin, and access to your web server. As such, this option is recommended only for advanced users. WordPress has extensive documentation that can walk you through the process.
Step 2: Select an eCommerce plugin.

What will separate your WordPress eCommerce website from a standard WordPress website will be the means by which you sell products directly from your site. There are no native WordPress eCommerce features, so to add this functionality to your website, you’ll need to install an eCommerce plugin.
WooCommerce

Once a mere eCommerce plugin, WooCommerce has now morphed into a whole platform with its own plugin system since it was acquired by Automattic two years ago. It's a highly customisable platform that gives you total control over your online store. About 30% of all online stores use WooCommerce as their platform; some local stores that use it are Beauty Choice and Green Point Flowers.
WooCommerce features a complete eCommerce backend that helps you build and organise product pages, and provides a shopping cart and checkout process.
It’s free to use, but you can extend its functionality even further with various paid and free extensions. Extensions can do anything from serving AI-driven recommendations to customers on product landing pages, to providing the option for scheduled group and daily deals that trigger when a predefined number of people purchase an item.
Easy Digital Downloads

While most eCommerce plugins and platforms revolve around the sale of physical products, Easy Digital Downloads or EDD is specifically designed to help you sell digital products.
EDD allows you to create discount codes, place restrictions on downloads, and provides full tracking and data reporting of downloads, sales, and other statistics. You can also add new features to your EDD storefront with extensions, which give you the ability to sell software licenses and subscriptions, add payment processors like PayPal, and more.
EDD is free, with various paid extensions you can purchase.
WP eCommerce

WP eCommerce isn’t quite as fully-featured as WooCommerce, but it’s another popular and robust choice for creating an online store with WordPress.
It has all the basic features, including product pages, shopping cart, and checkout functionality, and comes with excellent data reporting capabilities and inventory management. Like the other plugins, it’s free, but provides optional paid and free extensions that can add functionality. It also comes in a paid Gold Cart package option that adds more advanced tools, layouts, and features. You can also purchase premium payment gateways like Stripe and Authorize.net.
Step 3: Install your eCommerce plugin.
Once you’ve chosen an eCommerce plugin for your WordPress site, it’s time to install it through your WordPress backend. For convenience’s sake, the following steps assume that you chose the WooCommerce platform:
- Log in to your WordPress dashboard.
- On the sidebar, go to the Plugins section and click “Add New”.
- In the search bar, type “WooCommerce” and hit Enter. Click “Install Now” on WooCommerce by WooThemes.
If you’re still at the stage where you’re looking for a hosting provider, you may want to check out Bluehost’s partnership with WooCommerce. Bluehost offers an all-in-one solution for WordPress eCommerce setup, which includes a domain name, WordPress with WooCommerce pre-installed, and SSL certification to keep your online store secure.
Step 4: Set up the product pages.

Now that you have your plugin set up, it’s time to start adding products and their product pages. Every plugin does things differently, so we’ll cover the steps for doing this in WooCommerce.
At the very least, every product you add must have the following features:
- Product name
- Price
- Image
- Brief description
Begin by entering your WordPress admin panel, then select “Products” on the sidebar and select “Add Product”. WooCommerce allows you to add both physical and virtual products to your store.
a) Adding physical products
You’ll be greeted with an interface very similar to that of publishing a blog post on WordPress. Insert your product name where a post title would normally be, and add a description where post content would be. Then, on the right sidebar, add a product image for your product (analogous to a featured image), and then optionally insert more images in the product gallery.
Next, in the Product Data section, add more details about your product. The first thing to pay attention to is the Product Type drop-down box. The applicable product types for physical products are the following:
- Simple: A simple product with no SKU options
- Grouped: Multiple related products, which consist of several related “child” products, each of which is a Simple product
- Variable: A product with different SKUs, for example, shirts or shoes that have different size options
- External/Affiliate: Items sold outside of your store
For now, let’s go with a Simple product.
You’ll also see “Virtual” and “Downloadable” checkboxes next to the Product Type. Leave these unchecked for physical products.
Let’s move on to the components on the left of Product Data, and what goes on in each:
| Section | Option | Description |
| General | SKU |
|
| Price | Comes in Regular and Sale. Regular is the price it’s sold at normally; Sale is a discounted price that can be scheduled at certain time periods. |
|
| Inventory | Manage Stock | Determines whether WooCommerce will perform stock management for you on this item |
| Stock Qty |
|
|
| Stock Status | In stock/Out of stock |
|
| Allow Backorders? | Allows shoppers to buy out-of-stock items and have them delivered as soon as they are available |
|
| Sold Individually |
Determines whether only a single instance of this product can be purchased per order |
|
| Shipping | Weight | Item weight in kg |
| Dimensions | Length, width, height of the item |
|
| Shipping Class |
Different shipping costs for different items |
|
| Advanced | Purchase Note | Sends a note to a buyer who purchases the item |
| Menu Order | Overrides the order in which your product is displayed |
|
| Enable Reviews | Selectively enables or disables reviews for this product |
The Attributes section is where you can assign special details to each product. You can add as many attribute fields as you like. Just make sure to keep the attribute consistent among similar products being sold.
b) Adding virtual products

Virtual products are products that are not sold physically, while downloadable products are downloaded from your store. Some products are both virtual and downloadable, such as ebooks.
Adding virtual products features the same process as physical products for the most part. However, with virtual products, you’ll check the “Virtual” or “Downloadable” boxes next to Product Type. When you select either option, you lose the Shipping tab in Product Data. You should also go to the Inventory tab and uncheck “Manage stock?”
For downloadable products, the General tab gets more options:
- Downloadable files: Insert file links here for large files or files you’ve previously uploaded. Alternatively, click “Choose file” to upload a file.
- Download limit: Maximum number of times this file can be downloaded
- Download expiry: Buyers can only download the file for certain number of days.
Other than these changes, the process remains the same for physical products.
After the Product Data part, you’ll find the Product Short Description. This will appear at the top of your product landing page. Your shoppers will see this short description before the full description that you’ve already written.
Once this is done, click “Update” and the product will be added.
Wordpress eCommerce product uploading tips
The following tips ensure that your products are attractive to customers, and can be located easily either from your storefront or through a search engine.
a) Don't forget your titles!
Your product should always be named in the title bar when you add a product to your store. You should also use SEO tools such as Yoast to determine the best possible title for your product based on SEO.
b) Create catchy product descriptions.
Don’t copy descriptions from the product’s manufacturer. Be unique and creative with your descriptions. Also, use very specific, long-tail keywords that will ensure your product appears in search engine results. Finally, be short—limit descriptions to 150-250 words.
c) Mind the quality of your images.
Use a square-shaped featured product image to conform to WooCommerce standards. Also, use large, high-quality images to attract more customers.
b) Categorise and tag accordingly.
Place your products under categories and tags. The effect is twofold: Customers will have an easier time browsing for them, and Google will also consider them similarly to keywords.
Step 5: Payment

Just as it is the last step in the shopping process, both online and offline, the last step in any WordPress eCommerce setup relates to payment. Your eCommerce site needs a means of receiving payments from customers.
Most online retail financial transactions take place over payment gateways, which are services that act as a middleman between you and your customer.
Upon checkout from your site, a customer is directed to the payment gateway’s website, where they input financial information or sign into their account with the gateway. Money is exchanged securely from the customer to the payment gateway, and then the payment gateway transfers the money into your merchant account. Some payment gateways also host payment accounts as well.
PayPal is one of the leading payment gateways available, but it’s not necessarily everyone’s preference. Thankfully, WooCommerce supports a wide variety of other gateways, and adding them is as easy as a trip to the Payment Gateways section of the WooCommerce Extensions store, from which you can add the gateway of your choice with a single click. Payment gateways come in both free and paid forms.
To make use of most features of payment gateways, you’ll need to have an SSL certificate. This ensures that all transactions, and thus exchanges of financial information, between you and your customer are safe from the prying eyes of hackers. Getting an SSL certificate can usually be achieved through your hosting provider for a fee.
In Singapore, certain payment gateways are favoured by both customers and local eCommerce sites. Here are some of the top that are in use:
2Checkout

2Checkout allows eCommerce merchants to accept payments seamlessly from all over the world, whether from mobile or online. eCommerce sites have the option of using 2Checkout as a hosted solution, where buyers are directed to the 2Checkout website to complete payment. More advanced site owners can choose to integrate their storefront directly with the 2Checkout Payment API.
Asia Pay
One of the largest payment gateways in Asia, Asia Pay is also among the top choices for payment processors in Malaysia, Vietnam, and the Philippines.
Paypal Express

Fast and efficient, PayPal Express lets users check out and pay for their items in three clicks. Users can store their financial information easily within PayPal, making the process quick and easy.
Avoid hidden charges and choose the correct payment gateways for your store.

Considerations when choosing a payment gateway
1. Cost
Every payment gateway charges a certain percentage fee per transaction. Check out the service charges for each gateway you plan on using. Sometimes, a higher fee is justifiable if a gateway has excellent service.
2. eCommerce compatibility
Not all payment gateways are supported by every eCommerce plugin. Ensure that your payment gateway of choice is included in the list of extensions of your eCommerce plugin.
3. Financial information input
Payment gateways will offer two options for receiving financial information from customers. One is the hosted page, which redirects customers to the payment gateway’s website after checkout, where they enter their information. This is the most secure method, but it’s also a little unwieldy and is not likely to match your store’s visual theme.
The other method is integration, where customers input their financial information in a series of fields directly on your website, which will then be sent to your payment gateway. This method is much more seamless and convenient, but is less secure.
4. Mobile compatibility
More and more online transactions are taking place over mobile devices. It’s imperative that users be allowed to purchase and pay for items from your store even if they’re using their smartphones. Choose a payment gateway that not only supports transactions over mobile, but also has an optimised mobile experience with a good UI.
5. Security and support
Few things are as important as the safety of your customers’ information. To ensure this, make sure that your payment gateway features encryption, support for SSL certificates, and anything else to do with protection of data.
You should also be able to respond to problems with payment, refunds, and other concerns about transactions. Your payment processor of choice should have efficient and timely support that responds to your needs effectively.
For more information about setting up a payment gateway with WooCommerce, check out this detailed guide.
Conclusion
This article is a WordPress eCommerce how-to guide that has walked you through every step of building your own online store on one of the biggest platforms on the Web. You’ve learned how to choose your hosting provider, decide what plugin to use, install your plugin of choice, add your very first product, and set up a payment gateway for your site.
By the end of this article, you should have a fully functional, albeit barebones, eCommerce site that you can continue to expand and improve as your needs require.
If you need more information about eCommerce site building from experienced specialists, or want to put your site development in the fast lane with effective consultation, head on over to Construct Digital, where we provide eCommerce website design and development services, empowered by years of experience in the field.
Check out more of our eCommerce articles?
Image sources and credits:
Body images: WDNetStudio @ Pixabay; Vimeopro; kinkate @ Pixabay; Unsplash @ Pixabay; Firmbee @ Pixabay
Images of online shops courtesy of their respective websites
About the Author

Charanjit Singh
I help SEA B2B Marketing Leaders cut Cost-per-Lead 20-40 % with the I.M.P.A.C.T.™ framework

Guide
Assess Your IMPACT
Try our IMPACT scorecard to discover how your marketing stacks up across our six-pillar framework. Get a data-driven scorecard that identifies gaps and opportunities for measurable growth.